Customize settings within your courses including changing a course image, name, and more.
Below you'll learn how to customize all of the available components of your course. All settings are available from selecting Content from the navigation bar, followed by Courses.
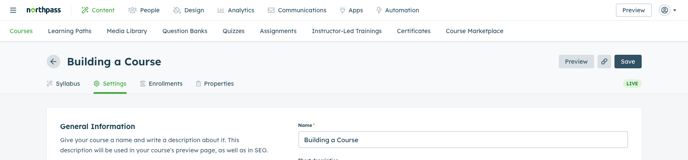
Select your desired course and click the Settings button shown below to start making edits:
General Information
How do I name/rename my Courses?
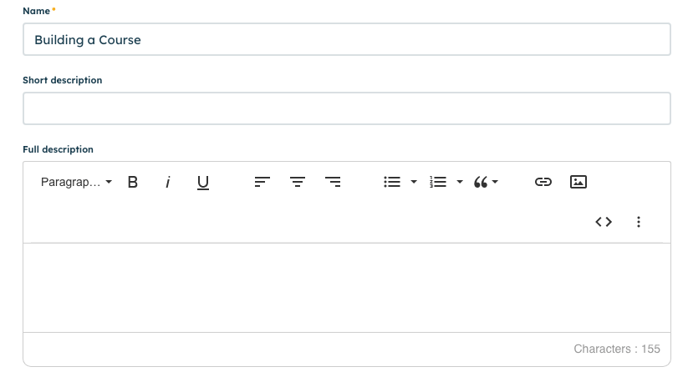
Give your course a name and write a description of it. This description will be used in your course's preview page, as well as in SEO. If you have the Website & Catalog feature enabled, you can also write within the Short Description field.
What are Course Retakes?
If a learner did not manage to get the required score to pass the course, you can enable retakes to allow learners multiple attempts.
Once enabled, learners will see a Retake button when they visit a course they've taken previously
What are the differences between Linear and Free Form Courses?
Linear Courses- learners will not be able to navigate to any activities other than the next one. They will need to visit all the activities sequentially. Milestones will no longer display as a separate activity, but instead, the Milestone requirement will display on the respective activity that the requirement applies to.
Free Form Courses- learners can freely scroll through courses as they desire with no restrictions on the sequence.
In the Settings of the course you will see the following information:
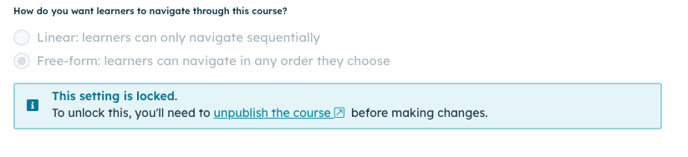
In order to adjust that, the course needs to be moved from Live to Draft (the easiest way is through Unpublish), make the change, and set the course Live.
What's an End of Course Screen?
When learners finish a course, it's important to encourage them to continue on or let them know what credential/certification they've achieved. The end of course screen allows you to customize what a learner sees once the course is completed.
Within the End of Course Screen section, click on the dropdown menu and select Custom. Enter a Headline, Description, & Hero Image for your custom screen.
Pro Tip: include text to instruct the learner to continue to the next course. For example, "Congratulations you completed the course. Now go forth and conquer the next course!"
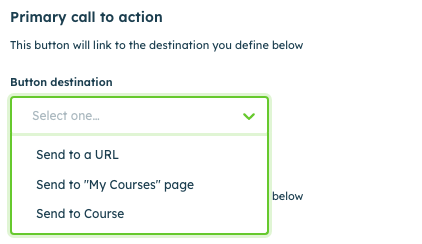
To create a Course Sequence, under Primary Call to Action, click on the dropdown menu for Button destination, and select Send to course. Under Course, select the name of the course you want to send learners to next. Enter your desired custom button text. For example "Return to My Courses."
Note: If you have enabled the Credentials app, there will automatically be a button added on the end-of-course screen to view the certificate
What are Certificates?
Learners can earn Certificates successfully completing a course. These certificates can be printed or downloaded, or viewed in the Northpass Learning Experience.
You can set certificates to pull your school logo, include an issue date, expiration date, and/or your signature, as well as email the certificate to the learner. For more information on Certificates, click here.

What are Course Categories?
Create custom categories that you'd like to apply to courses. These categories will enable easier course discovery and seamless organization of your content.

Instructor
How do I assign an instructor to a course?
You can choose the instructor(s) you’d like to have displayed on your course cover page. The instructor's profile image and short biography will be visible to all members with access to the courses. Only Managers and Admins can be assigned as instructors.

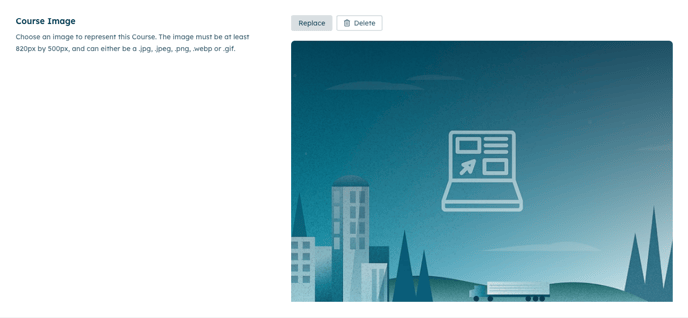
Course Image
How do I customize an image for Courses?
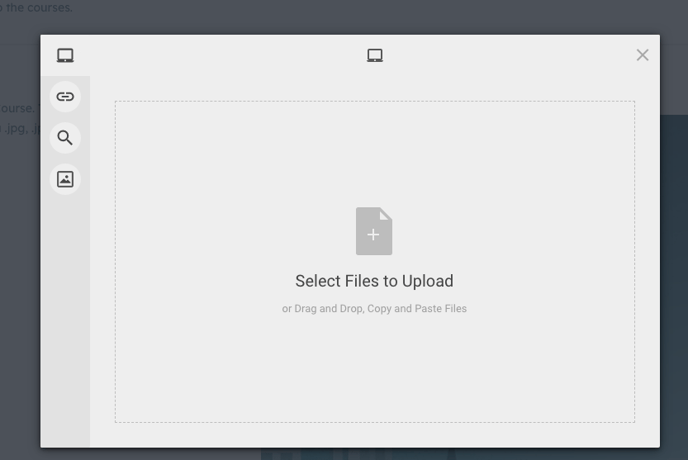
Course Images must be a minimum of 820px by 500px and can easily be changed as often as you like. Select the Upload button when uploading your first image and the Replace button to change the image. Our image uploader will allow you to either select the desired picture from your files, search the web, or use a stock image from Unsplash. The course image is the thumbnail users see for each course.
Some additional benefits of our image uploader include:
-
The ability to crop images right in the UI
-
Images that don’t meet our size limits are automatically scaled up to fit.
-
You’ll have options to search the web, link a URL, or upload from Unsplash.
The same image uploader is used for the end-of-course screen.
*Make sure to save settings.
Fixed Course Completion
Why would I use this feature?
When you'd like to update your course content, you may not want to alter the historical analytics for the course. With the Fixed Course Completion setting enabled, you can add course content without impacting the existing analytics for those learners who have already completed a course.
Note: if you have notifications enabled for learners for course enrollment/updates, they will not continue to receive these once Fixed Course Completion is enabled.
Start Fixed Completion by toggling the button from left to right until the body of the toggle becomes green:

Course Ribbon
What is a Course Ribbon?
Ribbons are displayed on the course tiles on your school's site and My Courses page. You might choose to label a course as new or coming soon, though you can customize them to say whatever you desire.
To utilize this feature, simply enter text for your ribbon's label:

Clone, Archive, or Delete a Course
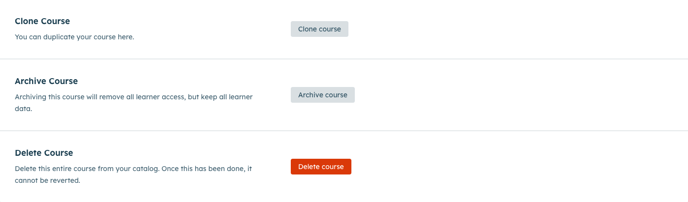
Clone a Course
Cloning a course is a great way to save time on building your school with an existing course framework. Upon clicking Clone Course, you'll be led to the Settings pane of your new course, now named "Existing Course Name" - COPY.
The following information will not copy over when cloning a course within a school--
Course Settings
-
Credential
-
Category
-
Instructor
-
Discussion Board Instructor
-
In Catalog Enablement
Course Activities:
-
Milestone: Requirement Specifications
Archive a Course
After archiving the course, users will no longer have access, but all completion data remains intact.
If you would like to see your archived courses or un-archive them, you can do so by clicking into the Archived folder available on the Courses page.
Archive is only available for existing live courses. Creating new course and drafts do not have the option to archive as course is not live yet.
Delete a Course
Deleting a course is permanent and irreversible, so be sure you before performing this task as this will also delete all analytics associated with the course.