Create a truly personalized learning experience and manage course content more simply than ever before with Properties.
Note: This feature is for Enterprise or Premium Customers only
What are Properties?
Properties allow you to deliver a limitless number of personalized learning experiences to your learners for better engagement using your own data.
Properties can be applied to learners, courses, or school-wide. Choose from true/false, whole number, decimal number, or text data to create a more personalized learning experience with information that is relevant to your business and users.
The Properties feature simplifies content management by putting your data to work. You can power course authoring, UI design, and automated workflows from the data within your school.
Why Should I Use Them?
There are four main advantages to using Properties:
-
Stickier Learning Experiences
-
Simplified Content Management
-
Deeper Insights
-
Automated Workflows
Properties enable the creation of personalized content and visuals that are based on a learner’s unique context. The result is a superior learning experience, which translates to stronger engagement, improved performance, and, ultimately, better business outcomes.
Rather than manually creating different groups to segment learners, or having to manage multiple versions of the same course, Properties save you time in both the content creation and content management processes. By using your data within Properties, you can create data-packed content at scale and better utilize our analytics reporting.
How Do I Set Up Properties in My School?
First, a few prerequisites before we get started:
-
You are a Premium or Enterprise Northpass customer
-
You are the Admin user for your school
Step 1
Locate the Automation tab within your navigation bar and click Add Property.
Step 2
Give your Property a name and select from the drop-down menu if this Property will be applied to learners, courses, or the entire school. (Note: the Property name must be unique and cannot be duplicative).
You'll also need to select what data type the Property will be defined as: text, true/false, whole number, decimal number, list or HTML (Enterprise only). Applying a default value is optional and will apply a blanket value to all Properties.
The Department Property example below will apply text data to all learners within this school.
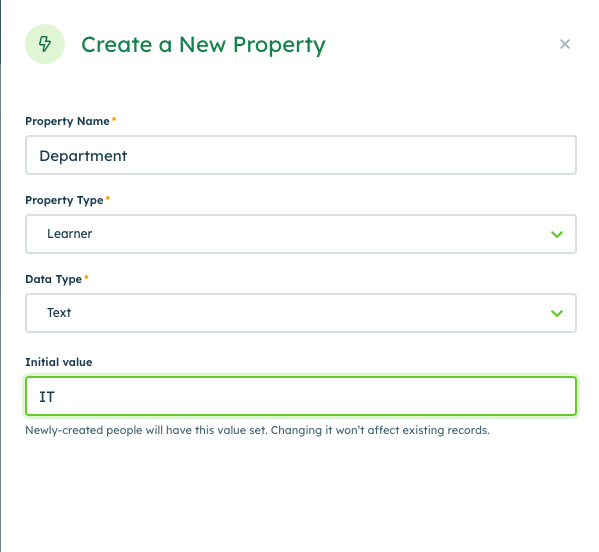
Click Save or Save & Add Another. You can create up to 10 Properties in total. Need to add more? Contact your Account Manager or Support@Northpass.com
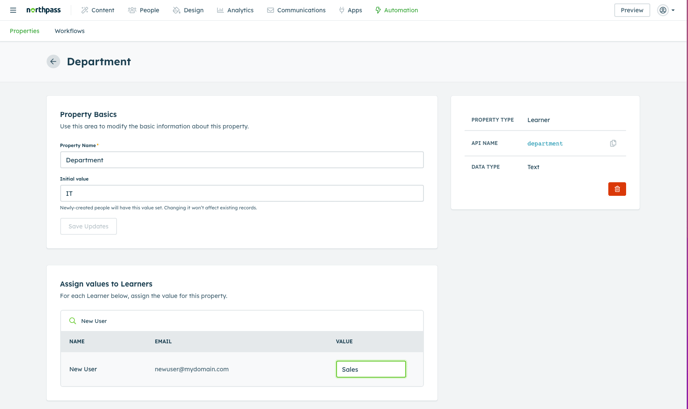
Step 3
Now we need to assign values that will apply to all learners, courses, or the school, depending on what you selected.
Property values can be assigned manually, or you can send the following documentation to your Developer team to see how Properties work with Northpass’ API functionality. This is specifically helpful for a faster and more seamless set up with larger-scale schools.
For manual assignments, we’ll continue with our Department Property example. We now see the names and emails of learners in the school and can input the text values of which department they are a part of:
If we created a True/False data type, we’d see the following presentation of value assignments. In this example, the Property is used to determine if employees are remote or in an office.
Congrats, your Property is now set up successfully!
How to manage course properties?
After creating course properties, you can access and edit them in the course view itself. It will allow you to edit multiple properties for a single course, without having to go to settings for every property.
For example, if you create a new course and you want to set multiple properties for it, you can simply fill them out directly in the new Properties tab. This view will only show Course type properties.
In order to have the property displayed in the course builder, you need to set a default value. Properties with no values will not be displayed in this view.
How Do I Use Properties In My School?
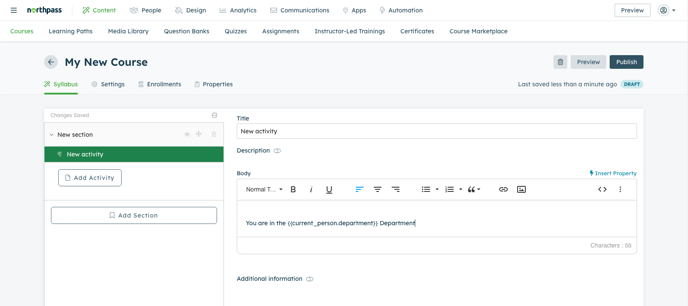
When creating a course, you can now use the Rich Text Editor (and anywhere else you see Personalization Tokens) to insert the Properties you’ve set up.
Locate the green lightning bolt icon above the Rich Text Editor to insert a Property. This will auto-populate the data defined during setup.
In the below screenshots, the property will display the text values we defined earlier, depending on the learner who views this activity.
Admin view of inserting a Property:
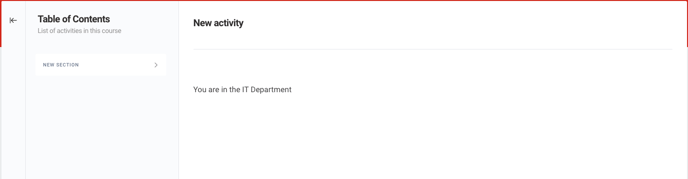
Learner view of personalized experience based on values input:
Note: Properties can also be used within our Custom Templates feature to tailor the look and feel of your school. Learn more about that in the Northpass Developer Hub.